admin
Site Admin

Joined: 17 Aug 2009
Posts: 691
Location: Arkansas!
|
 Posted: Sun Jan 31, 2010 8:27 pm Post subject: Instructions Posted: Sun Jan 31, 2010 8:27 pm Post subject: Instructions |
 |
|
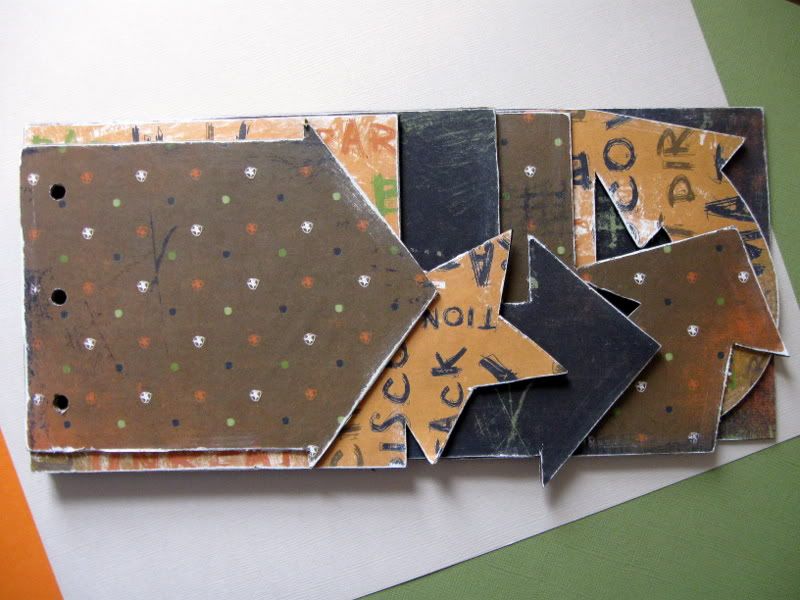
This kit was a blast to work with. Masculine with no frilly pieces at all, cool patterned papers, and an amazing color combination. Kits like this can be hard to find for mothers of boys and those whom want to scrap their husbands, fathers, or brothers. I used only items from the kit to create this album, with exception of a little ink, paint, adhesives, and a black sharpie. I print my own photos at home and ended up using three wallet sized photos and four 3.5 x 5.5 photos.
1). Decide which papers you will use to cover the album. Generously apply adhesive (I used tacky glue) to the chipboard album and spread it out a little either with your finger or a qtip. Place the chipboard adhesive side down onto the paper and press down. Flip the paper over, and using your finger, smooth out any air bubbles you might see. It may take a minute or so, but it is worth the time. You will be able to get two album pages from each piece of paper.
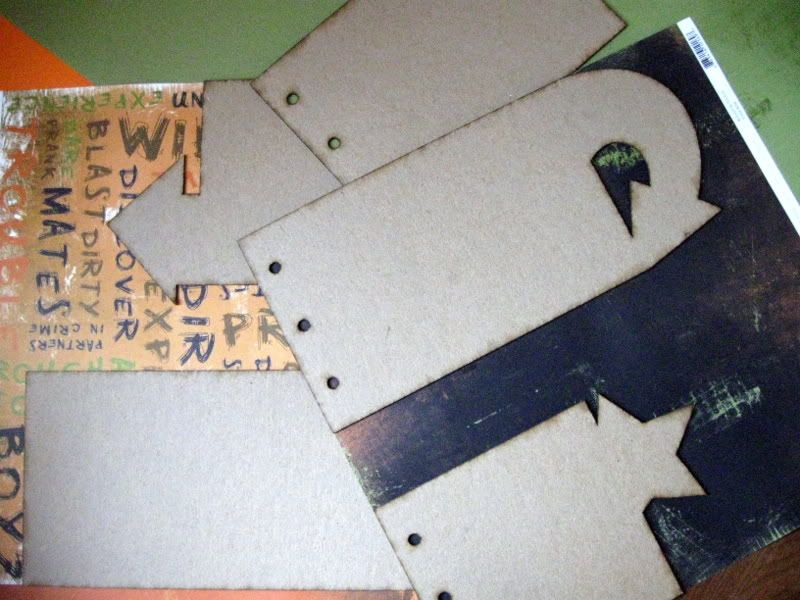
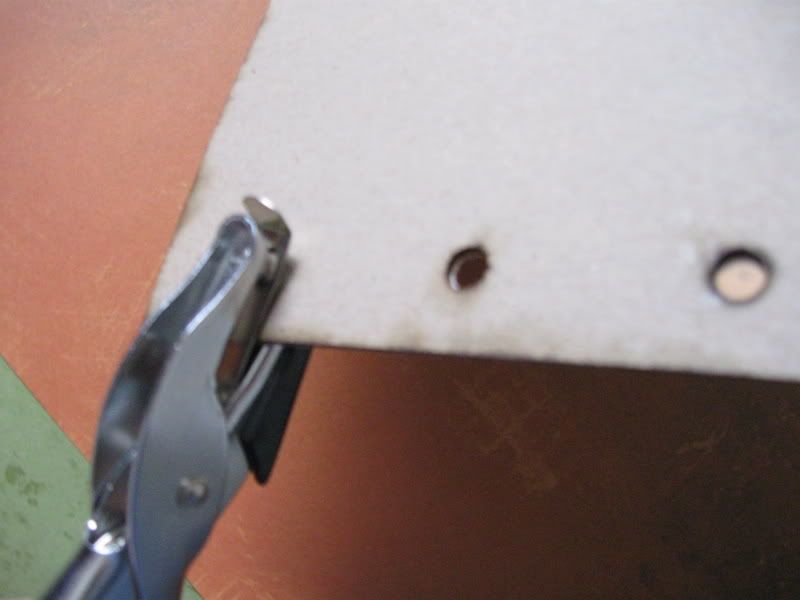
2). Use scissors to cut out the chipboard pieces. For much of the album, the scissors will work fine, but you will need to pull ot a cutting knife to get into some of the tiny angled areas. Once done, use a hole punch or cropadile to punch out the paper covering the jumpring holes. Repeat step 1 to cover the other sides of your chipboard. NOTE: Save all the scraps of paper from this process, you will use them later!
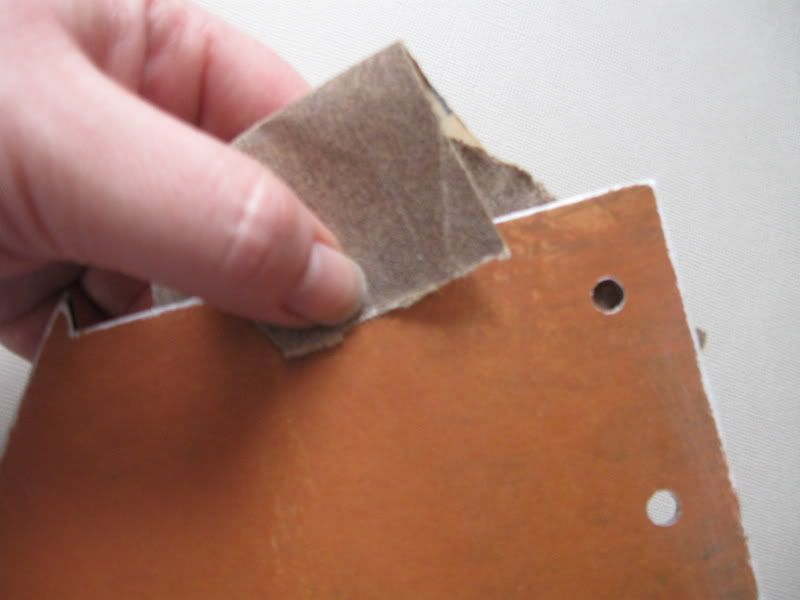
3). If you want smooth, yet distressed edges, you'll need to use sandpaper. Just rub it along the edge of the entire album. You may then ink the edges if you like, or skip the sandpapering entirely and just ink it. I chose not to use ink, as I liked the look of the whitened edges with the colors of the paper.
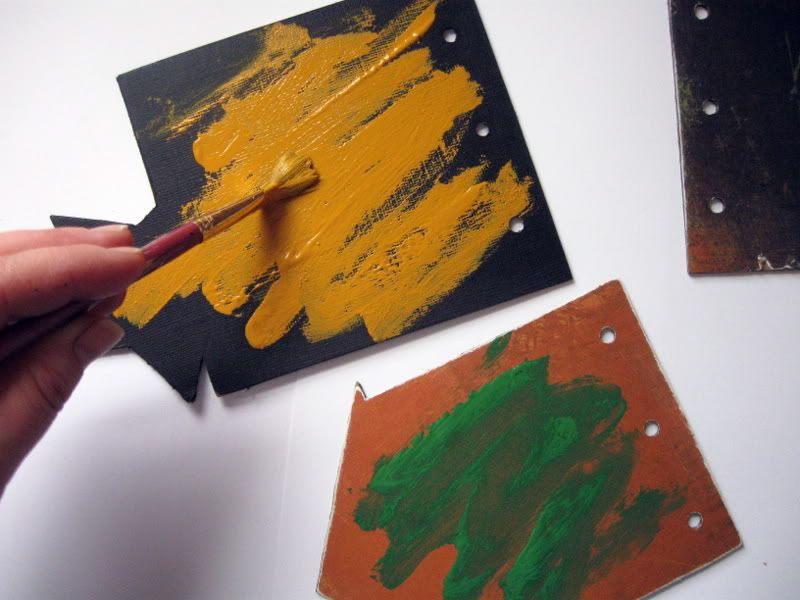
4). Your album is now ready for you to play with! I wanted a blast of color on a few of the pages I covered with plain cardstock, so I pulled out my paints. Paint is a fast way to add fun and texture to your album. Once dry, I completed the album using my remaining scraps of paper and the kit embellies. Here are a few tips for you:
*Remember when I said to save all your paper scraps? Before starting work on each page, go through those scraps and cut out words and images that you can use as embellishments.
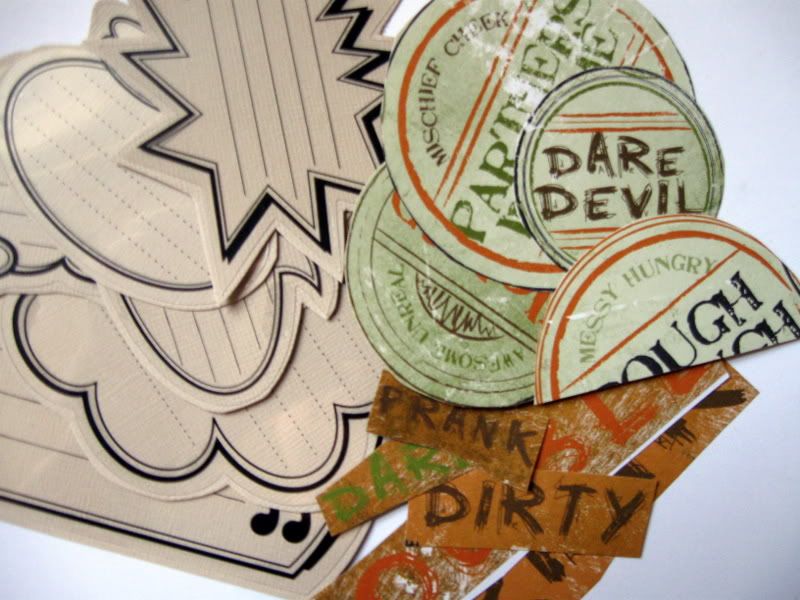
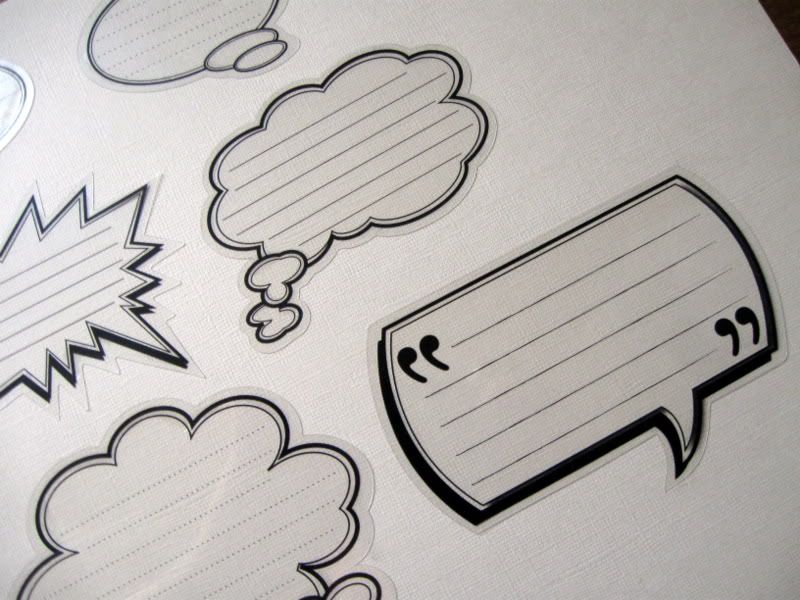
*The best adhesive for the Little Yellow Bicycle journaling bubbles is Zip Dry. That is what I used to adhere them to the cream cardstock. You can't see it, I swear!!
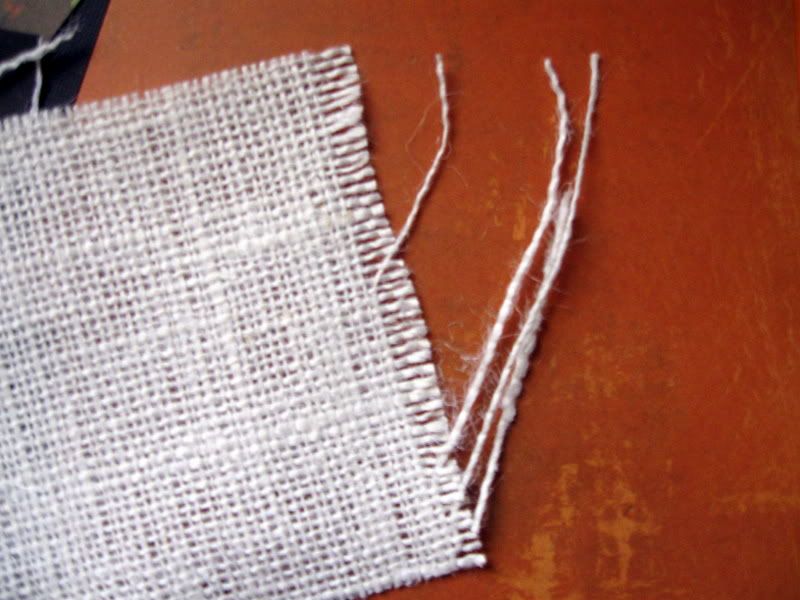
*To get a frayed edge on the burlap, just pull a few of the threads away. KEEP those threads and use them as embellishments by applying a thin line of Zip Dry on your page and then pressing the threads onto it. Once again, this will dry clear so you won't see the adhesive, just the cool threads!
*For the cover photo strip, I used the index sheet setting in Zoombrowser (For Canon cameras), and printed them that way. |
|